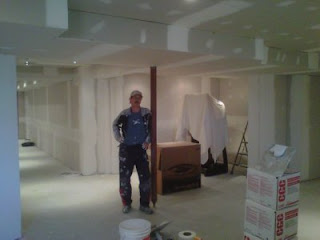
 I bumped into a guy at a job site the other day. He said he was a drywall taper. I was surprised when he told me that he didn't own a trowel. Needless to say, I was shocked beyond belief when he explained his process of caulking the corners and then smoothing out the caulking with a putty knife and calling that a finished corner. Unbelievable! Well, this guy wouldn't stand a chance at being a real drywall taper. Sure he finishes projects ten times faster than me but hey my inside corners are immaculate, they last forever and are super sharp.
Anyway, I figured I may as well explain the process of installing and finishing roll-on bead. I like to use roll-on bead for any 45 degree angle (or likewise odd angles and for bulkhead work). The reason for bulkhead use is to make perfectly square and level outside corners. Roll-on beads also use less drywall compound than the traditional metal beading. I know some drywall tapers that won't touch the job unless all the bead are pre-installed. So for them, here Roll-On Beading 101.
The bead needs to be cut exactly to size with tin snips.
Drywall compound is liberally applied to the outside corners and squared off with a 6" knife.
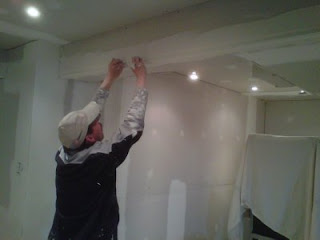
The roll-on bead is positioned, in this case, level to the ceiling.
I like to first squeeze out the mud working from the metal strips out using my fingers.
It's a little messy sometimes but effective and quick.
The remainder mud is squeezed out and the whole assembly is feathered.
Now the bead is set to dry for two days and then a second coat and final skim coat is applied. A light sanding afterwards finishes the task.


